Speaking of my shows... I've become addicted to Reign. I have always loved the history of various royal families, as well as historical fiction regarding them. While the show does not follow history hardly at all, it is a fun show to watch! What do you love to watch while you craft? Or do you prefer music? Perhaps nothing at all? Sound off in the comments below!
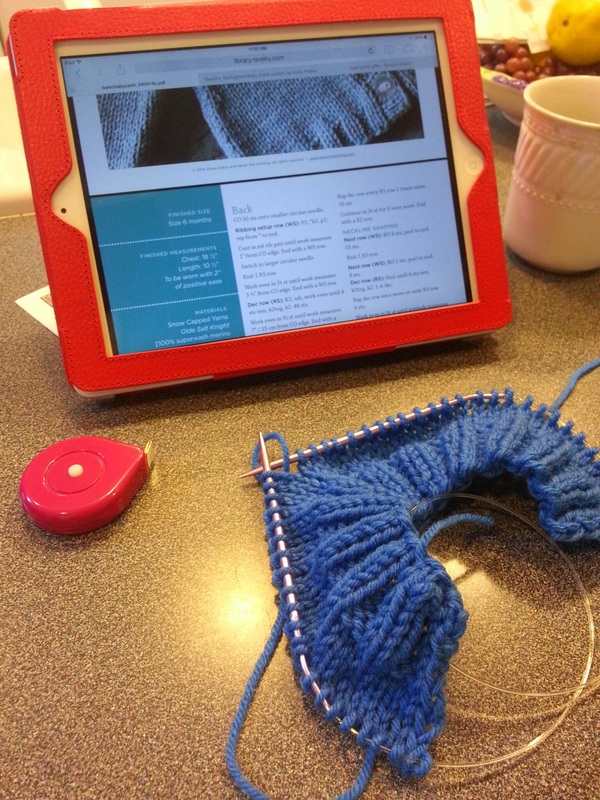
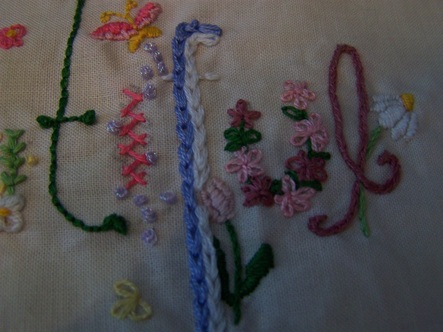
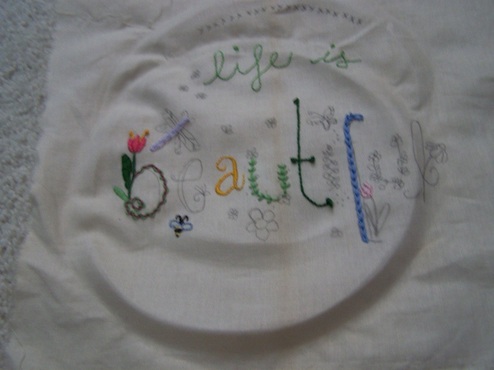
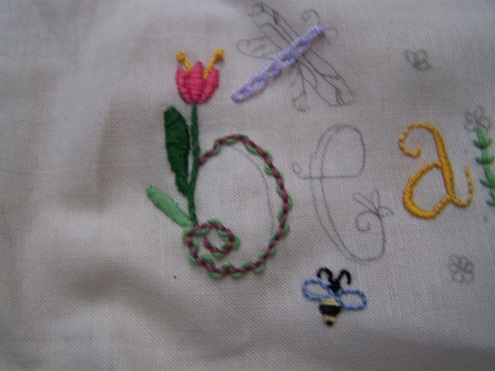
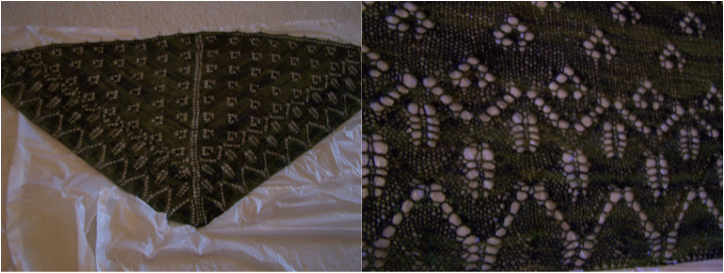
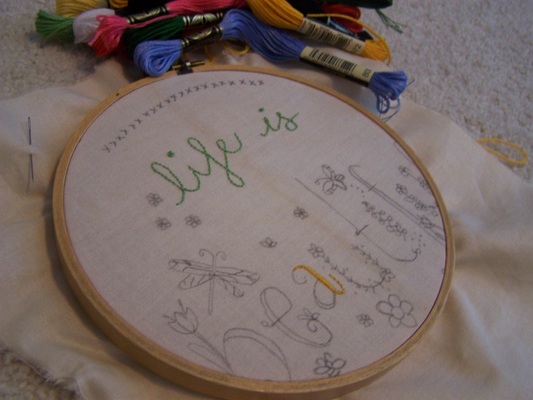
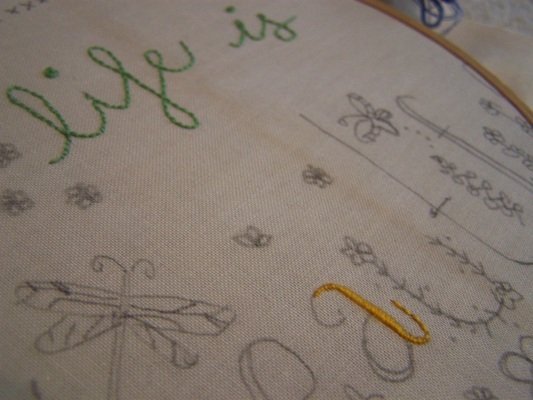
After focusing solely on school (and nearly driving myself crazy in the process) I'm back and trying to take time to enjoy the things I love. Trying to enjoy the simpler pleasures in life: drinking coffee slowly in the mornings, knitting while watching a favorite show, evening walks with my dog and my guy. I have begun my re-entry into the crafting world by knitting a simple baby cardigan for a friend of a friend. The pattern I'm working on is the Basic Baby Cardigan by Alana Dakos. It's a really lovely pattern to work, and easy enough to make while catching up on my shows.
Speaking of my shows... I've become addicted to Reign. I have always loved the history of various royal families, as well as historical fiction regarding them. While the show does not follow history hardly at all, it is a fun show to watch! What do you love to watch while you craft? Or do you prefer music? Perhaps nothing at all? Sound off in the comments below!
0 Comments
And colors. And yarns. Confused? It's ok! I didn't exactly tell you what I was making (and congrats if you figured it out!). After digging through my stash for more yarn for an infinity scarf, I realized I have many single and random skeins of yarn leftover from various projects. So why not put them together in a sampler afghan? (Hush... I know I already have a blanket in the works. But I can have multiple blankets!) So far I just have two squares in purple, but that's not bad for a day's work. I chose two different stitch patterns that I liked and knew from memory. Please forgive me for not remembering the exact names, however I do remember that the first one is a puff stitch. Both started with a chain of 26 stitches. Once they were the desired size (about 10" I think), I went around the edges with a single crochet stitch, three stitches in the corner, to make it easier to join later. The blanket will feature both crochet and knitting skills, and hopefully I can tie it all together because I said... there are a lot of random colors left in my boxes. I am also hoping to learn a few new things. My baby sister is about to head to college this week. I had mentioned before that she had asked if I could design a monogrammed pillow for her, and sew a couple of pillows. I finally got them finished for her! The monogrammed pillow required a bit of hand sewing and a bit of geometry. I actually had to look up how to find the circumference of a circle (it's C=πd for anyone who is interested). So once I discovered this I was able to cut a strip of fabric the same size as the circumference, plus 1/4" for the seam. Then I pinned it all around (inside out of course to hide the seams): And then did a careful bit of hand sewing. After it was turned right side out, stuffed, and squished around to get a proper circle shape I had this: I also cut 12x12" squares to make 11x11" pillows (1/2" seam all around). All together, she now has this for her bed: She seems happy with it, and I know I am! My boyfriend and I are notoriously big kids. We play in the toy aisle of Walmart, can often be found watching Disney movies (his favorites though are Pixar), and just act generally goofy. Aside from this, we are also huge fans of the short lived sci-fi show Firefly So when I ran across the idea to steampunk water guns on the blog "Ahem, It's Just Phlegm", I had to do it! I found two cheap water guns at Walmart - can't get much better than 98 cents each! After roughing up the plastic surface a little bit with some sandpaper, I spray painted them black all over, being careful to tape off the openings so they would still be useable as water guns. As you can see, I didn't do the best job of spray painting them, but that was ok because I wanted them to look like they had been roughed up a little. Next, I painted the handles brown with acrylic paint (Anita's All Purpose Acrylic paint in Earth Brown for anyone who wants to know exact details). It took a few coats to get the black mostly covered. In hindsight it would have been better to tape off the handles too and paint them white before the brown, but oh well. Not being able to wait anymore, I started with the metallics. I used Rub & Buff. This stuff is amazing! You put a TINY tiny bit on your finger and start gently rubbing where you want the color. I used Silver Leaf, Antique Gold, and Gold Leaf. And soon I had this: Next I wanted to make the handles look more like wood. So I took a darker brown paint (Americana Acrylic Paint in Raw Umber) and dipped the end of a 1" foam brush in it. Before applying it I wiped most of the paint off, so I could create a "grain." After putting the paint on the handles I used a dry portion of the brush to wipe some more of the paint off. This actually created the look I wanted! I also went back with a finer brush to fill in some of the details. To give it a little more of a steampunked look, I added a few brads that I snipped the ends off of using some clear Tacky Glue (a crafter's best friend!). They still need to be sealed with some clear spray paint, but they're done! And better yet, still functional as water guns! The Boy and I are planning on having a water gun fight at some point. Should be lots of fun. :) I'm sorry, I used glitter. I can't believe it either. I have always sworn off such projects because as Demetri Martin suggested, you just can't get rid of the stuff and it is SO HARD to clean up completely. But the draw of this particular project was too strong. Yet another Pinterest project, and one easily done on a budget, I wanted to make a set of glittered wine glasses. I bought four white wine glasses from the Dollar Tree (by the way, they have some pretty nice glassware considering it is only $1). I also got some extra fine black glitter from Hobby Lobby for about $4, and I had some Modge Podge on hand. I carefully cleaned the glasses first, and then wrapped masking tape around them to create a striped design. This sounds simple enough, but I will warn anyone who tries it that it takes a bit of time. The glasses, while they look nice enough, are from the Dollar Tree and thus are not completely identical or perfect. So wrapping the tape around so they all matched was a bit of a challenge (add in that I have OCD tendencies and we're really having fun now). There is also the challenge that the glasses are curved and the tape is straight. After a few tries, I had all four glasses wrapped with tape about as identical as I could. Next, I used cotton pads to carefully wipe the glass with rubbing alcohol to remove any fingerprints. To do this I stuck my hand inside the glass so that I didn't touch the outside of it. I then used a 1" foam brush to apply the Modge Podge to the desired areas, quickly followed by loads of glitter. I think I will blame my long glitter free spell for the reason that I somehow managed to get glitter in my eyes during this process. I allowed the glue to dry for a few hours before removing the tape, this way the glue didn't crack as I peeled it away. A few areas had to be scraped clean with a razor and others needed to be touched up once everything was completely dry, but I was able to get a fairly ok looking set of glasses. To top it all off, I decided to seal all of the glasses so that they wouldn't leave glitter everywhere with some clear acrylic spray paint. I wanted to block off the inside of the glass, so I used a piece of Press & Seal wrap to protect it (I wasn't sure how the paint would react with alcohol and didn't want to find out). This project isn't 100% complete. I might be adding a third coat of spray paint to them, just to make sure they are good and sealed. Currently they are airing out in the garage. I'll be sure to post a picture when they are done! It's summer you say? Oh. Party pooper. My Spring Sampler is now done (as I'm sure you guessed from the title). This project was a blast to do, and because of the many different stitches I never got bored with it. We have chain stitches, lazy dasies, satin stitches, stem stitch, split stitch, herringbones, French knots, and of course, back stitches. And what embroidery sampler would be complete without a few cross stitches thrown in there as well? Ahh... I love the relaxing Saturdays that I can just sit and immerse myself in a project while listening to music and sipping coffee. That's exactly what today is. I've made some progress with my own rendition of Bakercourt's Spring Sampler. I have to say, it's really fun to work on, and very easy to lose myself in! The best part is, I'm able to make it with supplies and things that I already have, so no money is spent (amazing news for a crafter on a budget). My apologies for neglecting my duties as a blogger... Life continues to get in the way, but I'm here now and let me catch you up on my crafting addictions as of late! (Promise this post is mostly pictures!) I finally finished the Ashton Shawlette! It feels like it took me forever. Unfortunately I'm not ecstatic about the finished project, and am a little disappointed. I hadn't realized that I had messed up a portion of the chart on one half of the shawlette, nor did I realize I had done the cast-off too tightly thus creating a straight edge rather than a scalloped one at the bottom. Oh well. My family's poor little shih tzu dog, Tobey, was feeling sorely neglected due to the presence of my new service dog, Patty. He was getting very jealous that she got to sleep in my bed and was following me everywhere. To help lessen the sting, I made him his own little bed from some scraps of superhero fabric that I had. Just two simply squares sewn together with a little polyester fiberfill between them to create a soft little bed for him in my room. And finally, I began a new embroidery project called "Spring Sampler" that I found on Pinterest. The pattern is from Bakercourt – Design, Bake, Craft. It's a lot of fun to work so far, and is putting my embroidery skills to the test. I decided to stitch it on some cotton fabric that I had, after dyeing it a nice beige color with some extra strong coffee. And I transferred the design using my window as a lightbox and lightly penciled it onto the fabric before stitching. So that's my crafting adventure as of late. What have you been working on? Let me know in the comments below if there are any awesome projects out there that I'm missing out on! I often have insomnia due to various medical reasons, and often find myself crafting in an attempt to kill time or relax myself into sleep. Last night was one such night. Being a college student, I like finding any way I can to save money, and I had previously seen a pin on Pinterest of an old jar wrapped in twine to make a vase. I had even saved an old okra pickle jar that I thought had the shape I wanted: I had thought before that I wanted to wrap it in twine, too, but after realizing I had none in my crafting stash, nor did I really want to buy any, I decided I could do the same thing with acrylic yarn. After digging a little, I settled on a skein of Caron Simply Soft in Country Blue. I started wrapping at the bottom, after gluing a vertical tail along the side of the jar (using Aileen's Clear Tacky Glue). I had vertical stripes of glue running up the sides of the jar every 1/4 of the way around. I made sure to wrap it tightly, holding the yarn taught, and every now and then adjusted the rows/rounds to make sure that the yarn was tight against itself. I ran into a problem as I reached the curved upper portion - the yarn wouldn't stay. Ultimately I had to snip the yarn and start wrapping just under the first thread of the jar from the bottom and work my way down until I met up with where I had left off. Once the entire jar was covered to my satisfaction, I snipped the yarn, making sure to leave the end in a little dab of glue so that it doesn't pop up later and unravel the whole thing. If I were to do it again (and I might!), I'd start from the top and work my way down. I think it would be much smoother and more efficient than from the bottom up. Also, those aren't the flowers I plan to use, I just grabbed some from my sister's room for the effect (don't worry, I put them back where I found them!). So I want to ask, what kinds of late night crafts do you guys do? Let me know in the comments! Also, I just wanted to let everyone know that if you're using Google Chrome, and want to follow along with my blog, you'll need to install the blog reader extension. It's super easy, and it's free! You can also connect with me on Google+, Twitter, and Pinterest. And there's always good ol' fashioned email - just click the "Contact" link up near the top (where you can also sign up for email alerts of new posts). After taking care of Patty, my service dog, I pulled out a skein of sock yarn that had been languishing in my stash because I was unsure of what to do with it. A brief scan of my Ravelry queue though, and I knew I'd be starting the Ashton Shawlette today! The way the chart is going I maybe finishing it, too. It works up very quickly, and the chart pattern is very easy to read. I am using US 6 needles (32" long) and sock yarn from Knit It Up's line Sock Yarn Cinema (the Twilight colorway). It is shaping up to be a nice, quiet Saturday watching movies and knitting. Also, I promised I'd plug my boyfriend's blog... So for all of you gamers out there, check out the blog for Aero Studios, which documents the creative process of an independent game designer. His ideas are really good (and yes, I am saying this from an objective position!), and I really encourage you to check him out.
|